
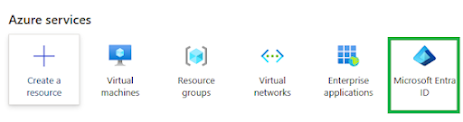
This is how to create an App Registration you need to login to the Azure/Entra portal then choose Entra ID:
Then we need App Registrations

Then we need a new registration as below:

Then we need to give it a valid name and ensure its single tenant then Register this application:

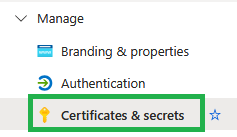
From here we need Certificates and Secrets as below:
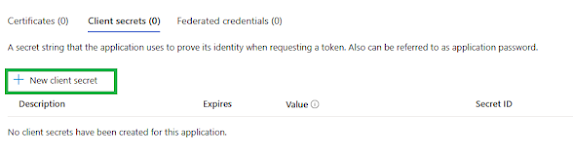
Then ensure you have "client secrets" selected and choose "New client secret"
You then need to give that secret a name and lifetime:

You will then see this secret below:
Note : You will only see the value once when you navigate away from this screen and back the value will no longer be visible!

Next we need API permissions:

Then we need to give it a valid name and ensure its single tenant then Register this application:
Then ensure you have "client secrets" selected and choose "New client secret"
You then need to give that secret a name and lifetime:
Note : You will only see the value once when you navigate away from this screen and back the value will no longer be visible!
Next we need API permissions:
Then you need an API permission, for this we need Microsoft Graph:

Then you need an application permission:

Now we need to find the permissions so when you get the search option enter the required permission, we will use AccessReview.Read.All in this demo, so search for that and place a tick in the box then choose add permission as below:

Then you need an application permission:
Now we need to find the permissions so when you get the search option enter the required permission, we will use AccessReview.Read.All in this demo, so search for that and place a tick in the box then choose add permission as below:
When you add these permission you should see then as valid API permissions as below:

You then need to grant admin consent for these permissions:

Which you will need to confirm:

Then you will see that the "granted consent" is now approved with the green ticks:

You will also need to know the tenant ID and application ID which you can get from the overview section of the App Registration:

You will need the following information for this script to work so keep it handy:
Tenant ID
You then need to grant admin consent for these permissions:
Which you will need to confirm:
Then you will see that the "granted consent" is now approved with the green ticks:
You will also need to know the tenant ID and application ID which you can get from the overview section of the App Registration:
You will need the following information for this script to work so keep it handy:
Tenant ID
Application ID
Secret Key
You have not created an App Registration, yayyyy!